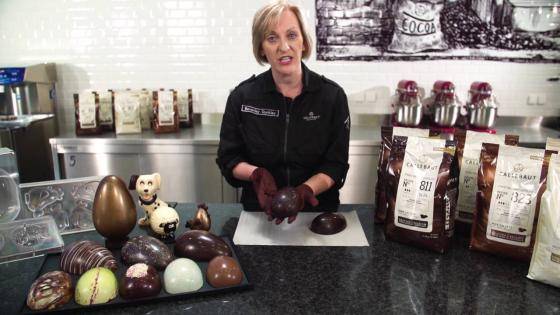
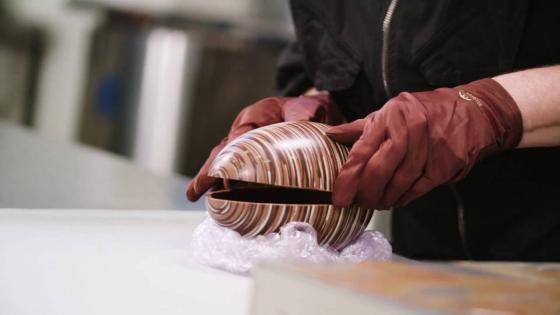
Hollow figures - getting creative - colour patterns
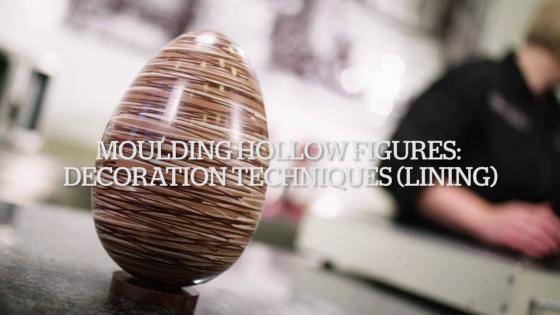
Getting creative with hollow figures - lively colour patterns
Discover the Jackson Pollock in you and learn how to decorate your chocolate figures with lively colour patterns.
GOOD TO KNOW
What should you take to heart when making hollow figures?
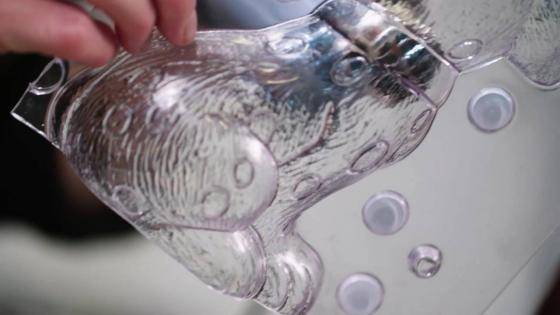
Use polycarbonate moulds. These yield the highest gloss and contract slower than chocolate, which makes unmoulding far easier.
Choose the fluidity of the chocolate according to the size of your moulds: a three-drop fluidity for smaller moulds, a two-drop fluidity for bigger ones.
Heat the moulds briefly before pouring in your tempered chocolate. This way, you’ll avoid temperature shocks that could make your chocolate turn grey afterwards.
Make sure that the heat can escape from the mould during cooling. If it remains trapped inside the mould, chances are high the chocolate shell will show dull spots after the chocolate has cooled down.
Producing an original design with creative powder
Needed:
- Single moulds (for two chocolate figure halves)
- Chocolate melter or tempering machine
- Creative powder
- A ladle
- Gloves
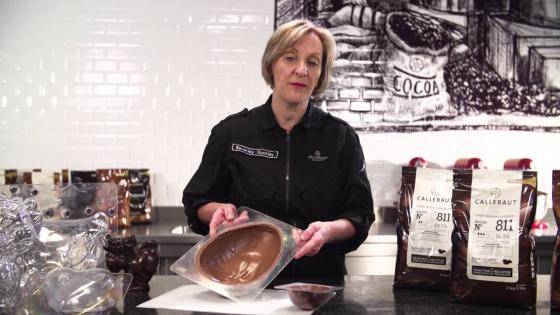
Temper your melted chocolate and warm your moulds up to 26 to 27°C with a heat gun before use. Do make sure that your moulds are squeaky clean and don’t make them warmer than your chocolate.
Step 1
Sprinkle a small amount of creative powder in the centre of the mould and pour a bit of tempered chocolate on top to keep it in place.
Step 2
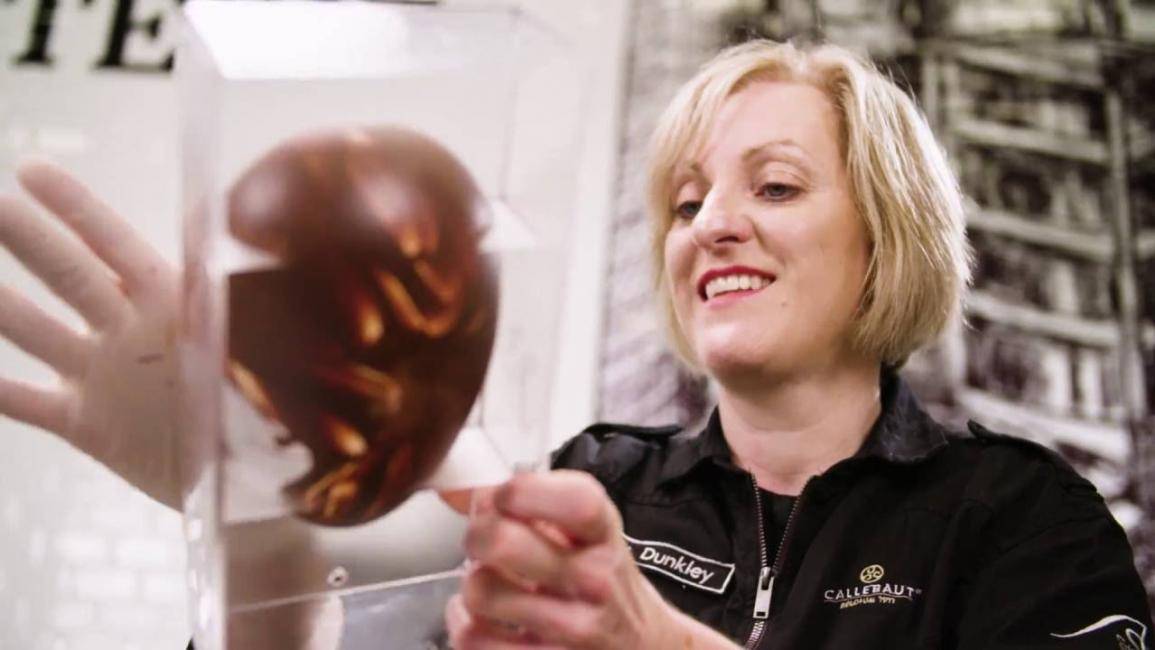
Using your finger (and a glove!), smear the chocolate along with the creative powder to create the shape you want. That’s the nice thing about transparent moulds: you can actually see which pattern you’re creating.
Step 3
Let the chocolate harden for a few minutes before filling the mould with tempered chocolate. For the following steps, watch our tutorial about making chocolate figures with a mould to apply the correct techniques.
Producing lively colour patterns with creative powder and coloured cocoa butter
Needed:
- Single moulds (for two chocolate figure halfs)
- Chocolate melter or tempering machine
- Different coloured cocoa butters
- Creative powder
- Toothbrushes
- A small paint brush
- Paper
- Gloves
Temper your melted chocolate and warm your moulds up to 26 to 27°C with a heat gun before use. Do make sure that your moulds are squeaky clean and don’t make them warmer than your chocolate.
Step 1
Rub a toothbrush into coloured cocoa butter and cover your mould in coloured specks by rubbing your finger along the bristles of the toothbrush. Repeat this step with different coloured cocoa butters.
Step 2
Rub another toothbrush into coloured cocoa butter and create a more linear splatter pattern by flicking the coloured cocoa butter straight into your mould. Repeat this step with different coloured cocoa butters as well.
Step 3
Clean the outer surface of your mould by passing it over a piece of paper and let the cocoa butter set for a few minutes.
Step 4
Brush a bit of creative powder into the mould. The excess powder is easily removed by tapping the mould against the worktop dressed with a piece of paper.
Step 5
Fill the mould with tempered milk chocolate and create a hollow figure based on the techniques demonstrated in our tutorial about moulding chocolate figures.
Which type of chocolate is best suited to create chocolate hollow figures?
For small and medium-sized moulds:
All chocolates with a basic three-drop fluidity are ideal for this. They contain exactly the right amount of cocoa butter to form an even chocolate layer with the perfect thickness.
For medium-sized hollow figures, we recommend repeating steps 1 to 4 carefully to achieve a thick enough chocolate shell.
For large moulds:
Your best choice for large moulds is a less fluid chocolate, i.e. chocolate with a lower cocoa butter content. It leaves a thicker chocolate layer inside the mould in just one single pouring. Given that the chocolate shell shrinks during cooling, it is important that it has the necessary minimum thickness. This determines the strength of the shell and makes unmoulding much easier. Chocolate recipes with a two-drop fluidity (containing 3% to 4% less cocoa butter) are perfect for these applications.


